Description from original post (created 2009-10-27 15:27):
So, with the new creative update, we have more skin options! As seen in a previous blog entry, you can now add things like glasses, hair, whatever you can think of. Just keep in mind, it's only one layer deep.
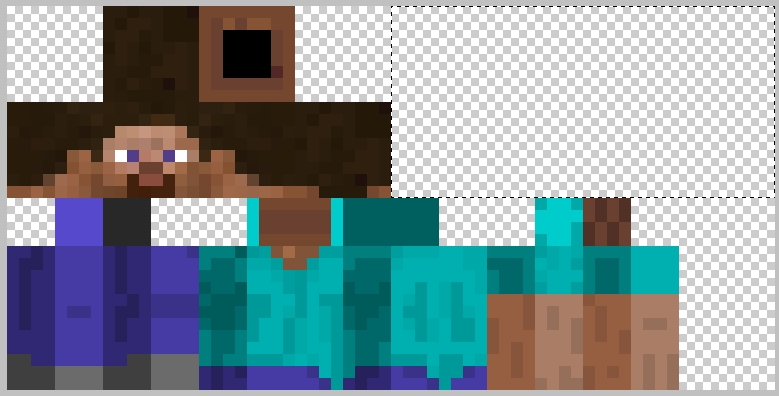
First off, here's the area you'll be working with:

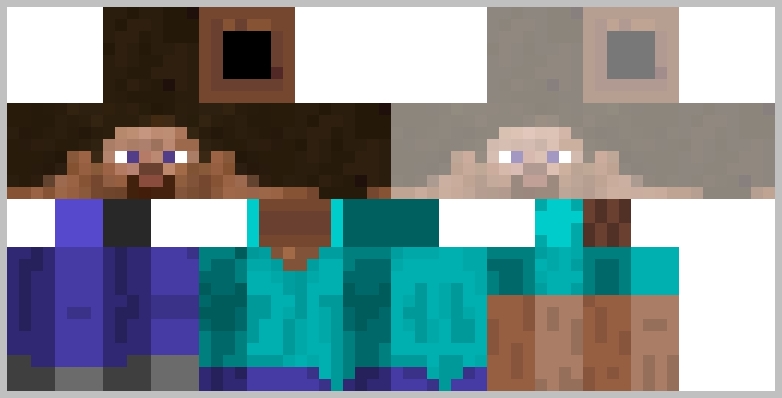
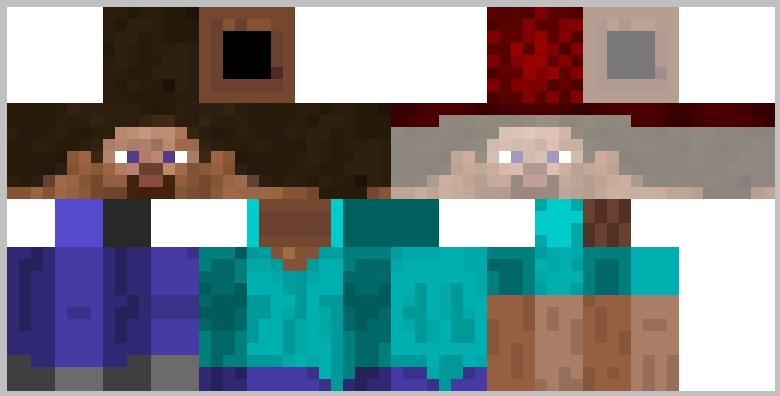
Think of that space as another head texture, and anything placed in the appropriate spot will match the head in game. To clarify, look at it like this (note: the faded head texture is just for reference, it should not actually be there.):

Anything you put there will float off the matching side of the head. So, anything added to where the face would be, will be on your face. With that in mind, you can add to all six sides of the head.
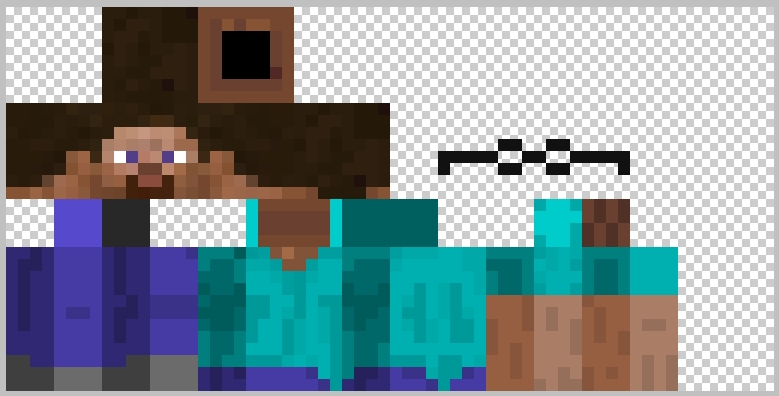
Here's an example. Let's make some glasses where the eyes would be, wrapped around the left and right side of the head:

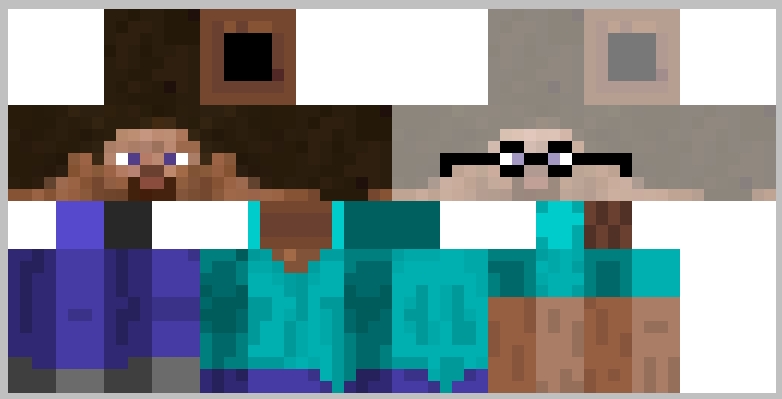
And again for easy reference of where it would end up (note again: the faded head texture is just for reference, it should not actually be there):

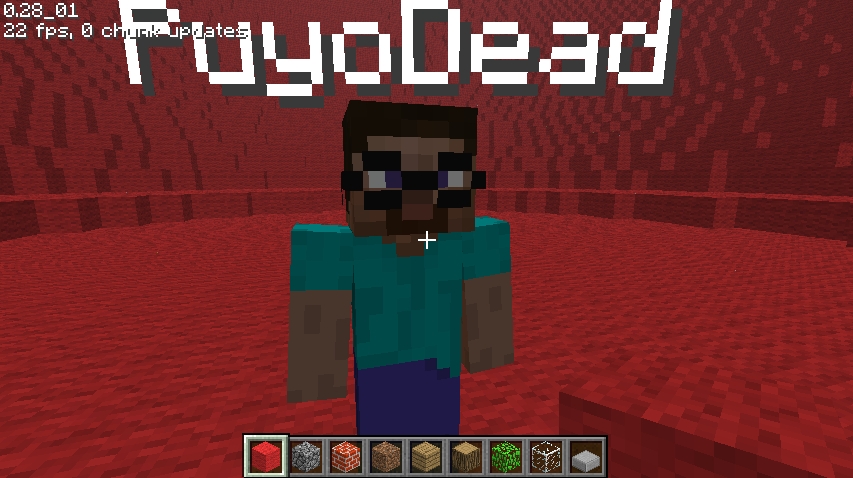
Make sure you save it with a transparent background. If there is no transparency, it skips the new stuff entirely. Now, upload that skin in your preferences, and we get this:

Yay, glasses! So yea, you can add pretty much anything you can think of. The texture will be slightly larger, so that it can wrap around without leaving gaps between the sides.
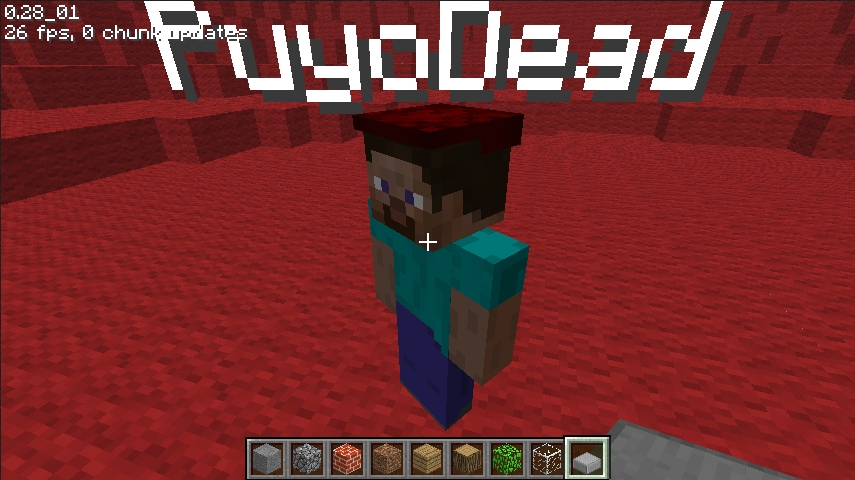
Here's a little more complex example. To make something wrap around the head, place it on top of everywhere it would cover the head. The game will match those sides up, and line up any matching edges. Again, the faded head texture is just reference so you see where it will be.

You has a cap!

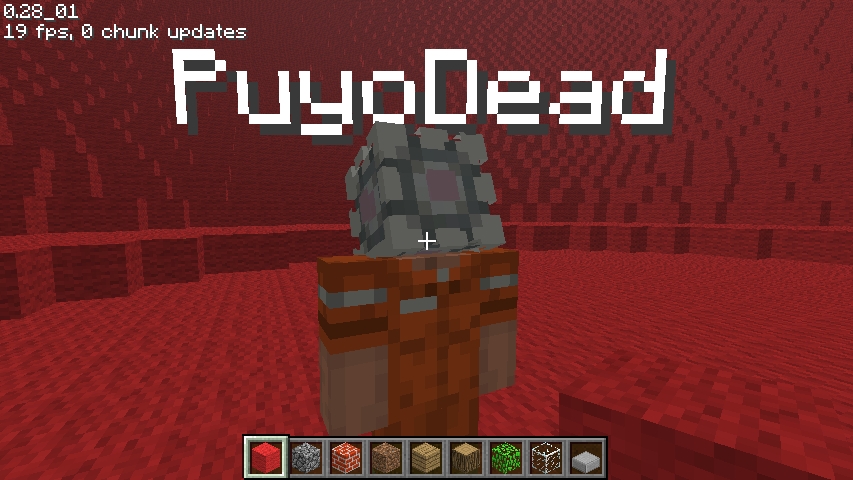
Also, here's my skin, just to show another example:

